
Like any good project, this one started with a collection of ideas and inspiration. My drawings seemed like everything was going to come together well. Now, it was time to put those ideas into practice!


Here is where we started:


The vanity was serviceable but rather dated - especially because of the counter and sink. The vanity top was a preformed sink and counter of cultured marble and there was a builder-grade mirror glued to the wall. The light sconces had been swapped out by yours truly several years ago when one of the previous ones had stopped working. The linen closet was tiny but also a very serviceable area.

The tub and toilet were biscuit colored and the square tile surrounding the tub was the same. It all was still in working order but stained from years of use and a struggle to keep mildew away as evidenced by the bleach cleaner that always sat on the side of the tub.

We decided not to change the footprint of the bathroom because it works alright for us. I had thought about expanding into the large closet that is adjoining the bath but decided that there was really no need as this layout really did work alright for us and making major changes would increase the cost but would also just mean more for me to keep clean and I am not one who loves to clean.
So, Richard from The Tool Chest and his trusty assistant, Faye, showed up on a Monday and demolition began! I was at a school that day and the Mister oversaw all the production from his recliner after he had returned from one of his physical therapy workouts for rehabbing his new left knee. When I returned home, here is how things looked at the end of day one.


The next day found Richard working on the prep stages of adding backer board and plumbing for the new shower faucets.


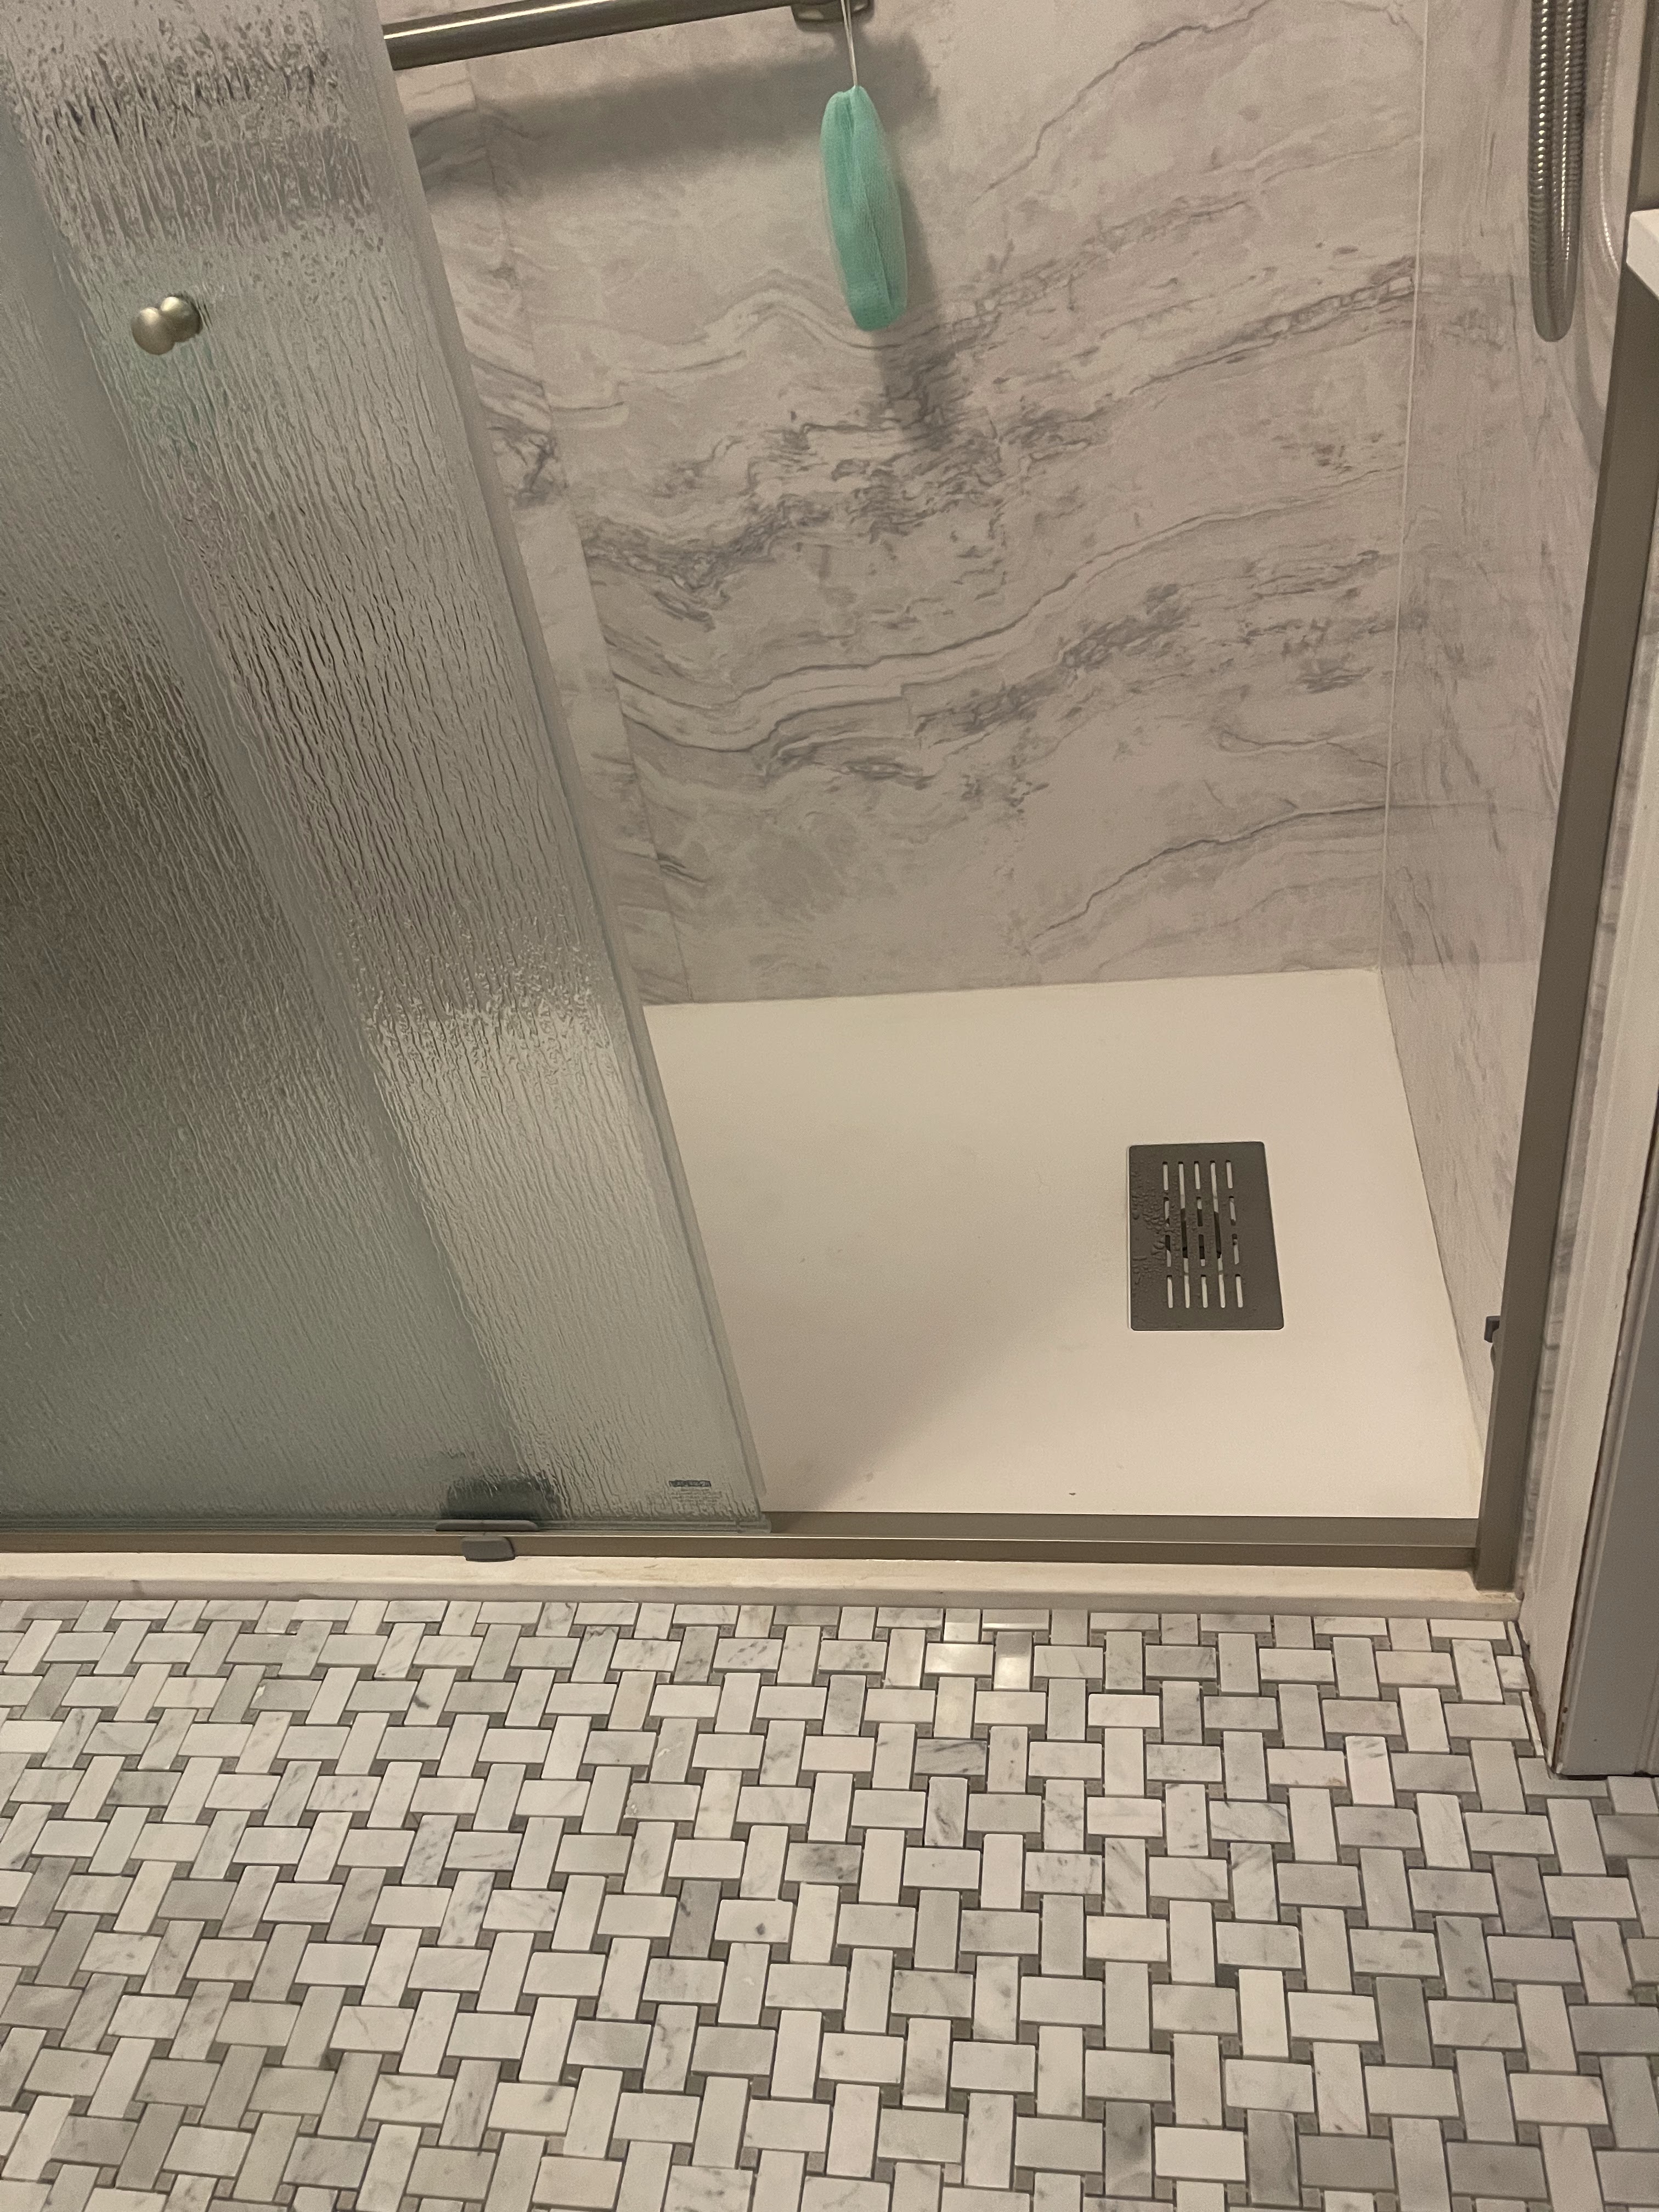
I had chosen a 'shower kit' that features a manmade stone that looks like marble for the walls and a textured version of the stone as the base of the shower. Remember my inspiration that was crafted from large slabs of stone? Well, rather than real marble stone, we were giving this unknown product I had stumbled upon during my search a try. I had ordered everything sight unseen, having faith in my online shopping capabilities. Everything was delivered just before Mike's knee surgery and we stored it all inside his livestock trailer and parked it in the tool shed until Richard was ready to begin. So, a day or so later meant Richard was installing this newfangled product that was still in the shipping package. The big box store had links to a video created by the company which demonstrated how to install. We watched with rapt attention a couple of times and then Richard plunged right in.


I have photos of the different pieces and parts being installed but didn't include each and every step in this post - believe me! The next photos show the shower installed and the grab bar and faucets in place.


The 'shower kit' came only with the four stones for the wall as well as the base and the drain cover. The grab bar, faucets, shelf, and door, of course, came separately.


When he asked me what color grout I wanted, I quickly told him that I wanted it to match that small square tile and look about the color of dirt. Muffa, my paternal grandmother, when I was a young girl in college and was setting up my own abode, told me, "Get a rug that has coloring that is close to that of the dirt in your yard. That way the rug won't have to be swept as often." I knew after all these years that it was sound advice!
One thing we added to the bath that I thought would tie it into other parts of the house was the bead board wainscoting. The guest bath has that and I've always really liked it.

So, using that as a pattern, Richard added bead board and trim. He and Faye suggested that I also add it to the space behind the vanity and I am so glad they did. It really made things more cohesive and added that little extra punch to frame out the vanity.

The new countertop with undermount sink was installed along with the faucet. While there is a wee bit of difference in the look of the stone that is the countertop and that of the shower, the wall between the two really makes it hard to notice. All of the different stones just seem to blend together and look cohesive in spite of being different and having been gathered together without my having laid eyes on the actual products. Sometimes it is better to be lucky than good!

The electrical work in the update included swapping out the plugs and switches from beige to white, moving and installing the new sconces beside the mirror, and replacing the light and exhaust fan near the shower. I chose the fan/light because it was mostly enclosed and should be easy to keep clean with just a swipe of a duster or the vacuum tip. The vented slots of the previous one had gotten so gunky that it was gross and impossible to clean. So, hopefully the design of this one will prevent that. It also has the added feature of a night light option, which is nice during those middle of the night visits. The sconces I had originally ordered were too wide for the new mirror I'd had made. So, Faye and I did a quick online search and order and they were available to be installed within a couple of days.

We also had Richard install a couple of grab bars just for safety's sake. I want to feel safe when Mike has his second knee replacement. Plus, we are senior citizens! I didn't want the industrial looking grab bars, though. So, this short grab bar just outside the shower and the mid-sized one beside the toilet which match the longer one inside the shower are what we used. They look very similar to the bath hardware I ordered. Somewhere along the way the towel bar got lost or maybe it was never delivered. So, I followed Faye's suggestion of hanging three hooks across from the shower instead.

The finish work is really the details that make the difference. The drywall, wainscoting, trim, and crown molding are painted White Dove by Benjamin Moore in a satin finish. The ceiling is the same color but is a flat finish. The vanity is painted in a high gloss finish using Blue Stream by Benjamin Moore. I chose this soft blue color with the help of the consultant at our local Ace Hardware Store. My thought is that when we paint the adjoining bedroom, it will be in the same pale blue color in a satin finish. I ordered custom knobs via Etsy for the vanity to give it a jewel box look, but I see that they are not available now. They are Mother of Pearl with silver detail.


I decided to order sidesplashes because our original vanity had those. When I was searching for that, I stumbled across another size. Remember my inspiration picture that had the little marble shelf on it? I decided to order this longer length of the backsplash to give it a try as a shelf. I just had to figure out how we were going to mount it because the faucet I had chosen would not allow it to rest on the backsplash. I did a search to find a small corbel and landed on this one. Richard and Faye painted them to match the bead board and it really elevates the vanity area.

The mirror is made from an antique frame that my mother gave me. I knew that I wanted to use it if at all possible because I love the chunkiness of it and the patina of the wood and thought the warmth of the wood might warm up the vanity area as well as continue that farmhouse look. The sconces also add to that aesthetic, I think, with their oval base and candle look.
Once all the lighting was installed, I felt like I needed a bit more light in the vanity area. So, I ordered this pendant that was on sale at the time. It really did the trick and brightened things up just as I had hoped. It blends beautifully with the paint color and is really just the right size. I may give the 'candles' a quick paint job, though because I think they need to be a bit whiter to look more like candles and like the sconces.


I will have to share how I did some organizing and updated the inside of the vanity and linen closet to make it even more of a workhorse for this room in another post. I know this post is long but what is an update if we don't have a bit of before and after?

 Standing in the doorway


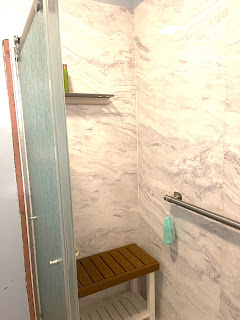


Front of Shower


Back of Shower


Vanity Area
We could not have asked for a better outcome! Richard Stanaland from The Tool Chest and his trusty assistant, Faye, did fabulous work and completed the entire project quickly in a two-week timeframe. The updated bath is everything I envisioned and more! I smile every single time I step inside it. I've already started dreaming of the next project that Richard will do for us and we have our fingers crossed to get it done this summer.

Note that all of these photos were made with my phone. They are the raw footage that I snapped each day when Richard and Faye were finished working.
(We were not compensated for any purchase related to this project. I included the links to products and the installation company as a courtesy to any reader for seeing exactly what product I am referencing.)
No comments:
Post a Comment