Grey is a bleh color to me when it comes to decorating. I have hated the trend that everybody has been fond of - painting everything a neutral grey. To me it seems cold, dreary, depressing, and institutional or prison-like. So, I was not thrilled years ago when my mother-in-law had the walls and cabinetry in the basement painted grey. Knowing that it was to be her space, I did not want to object and really wanted her space to be her own. Now that we are reclaiming that space and repurposing it to meet our needs, I am learning to live with the grey as best I can. The paint is still in really good shape and I just cannot justify having it covered over just because it is not my favorite. So, I am looking for ways to live with it but liven it up.
One of the grey walls in the basement.
We recently began to turn one of the front basement rooms into an office. I need a dedicated work space, since I still work from home many days. I will also want an office-type space even after I retire. I will want a space for bill paying and working on our farm paperwork. I will want a space for writing as I want to write a book similar to the one I helped my mother to put together as a way to share her lifetime memories with our children. I will want to have a space for sewing and crafting when I take on creative projects.
So, I began to look for ways to liven up the grey room and make it more friendly. I decided that an easy way to get started with that would be to add a decorative window treatment. I knew that I didn't want to cover the window because I want all the natural light I can get coming in through the window. There are blinds for controlling the sunlight where it won't be glaring in and blinding while I work at the desk.
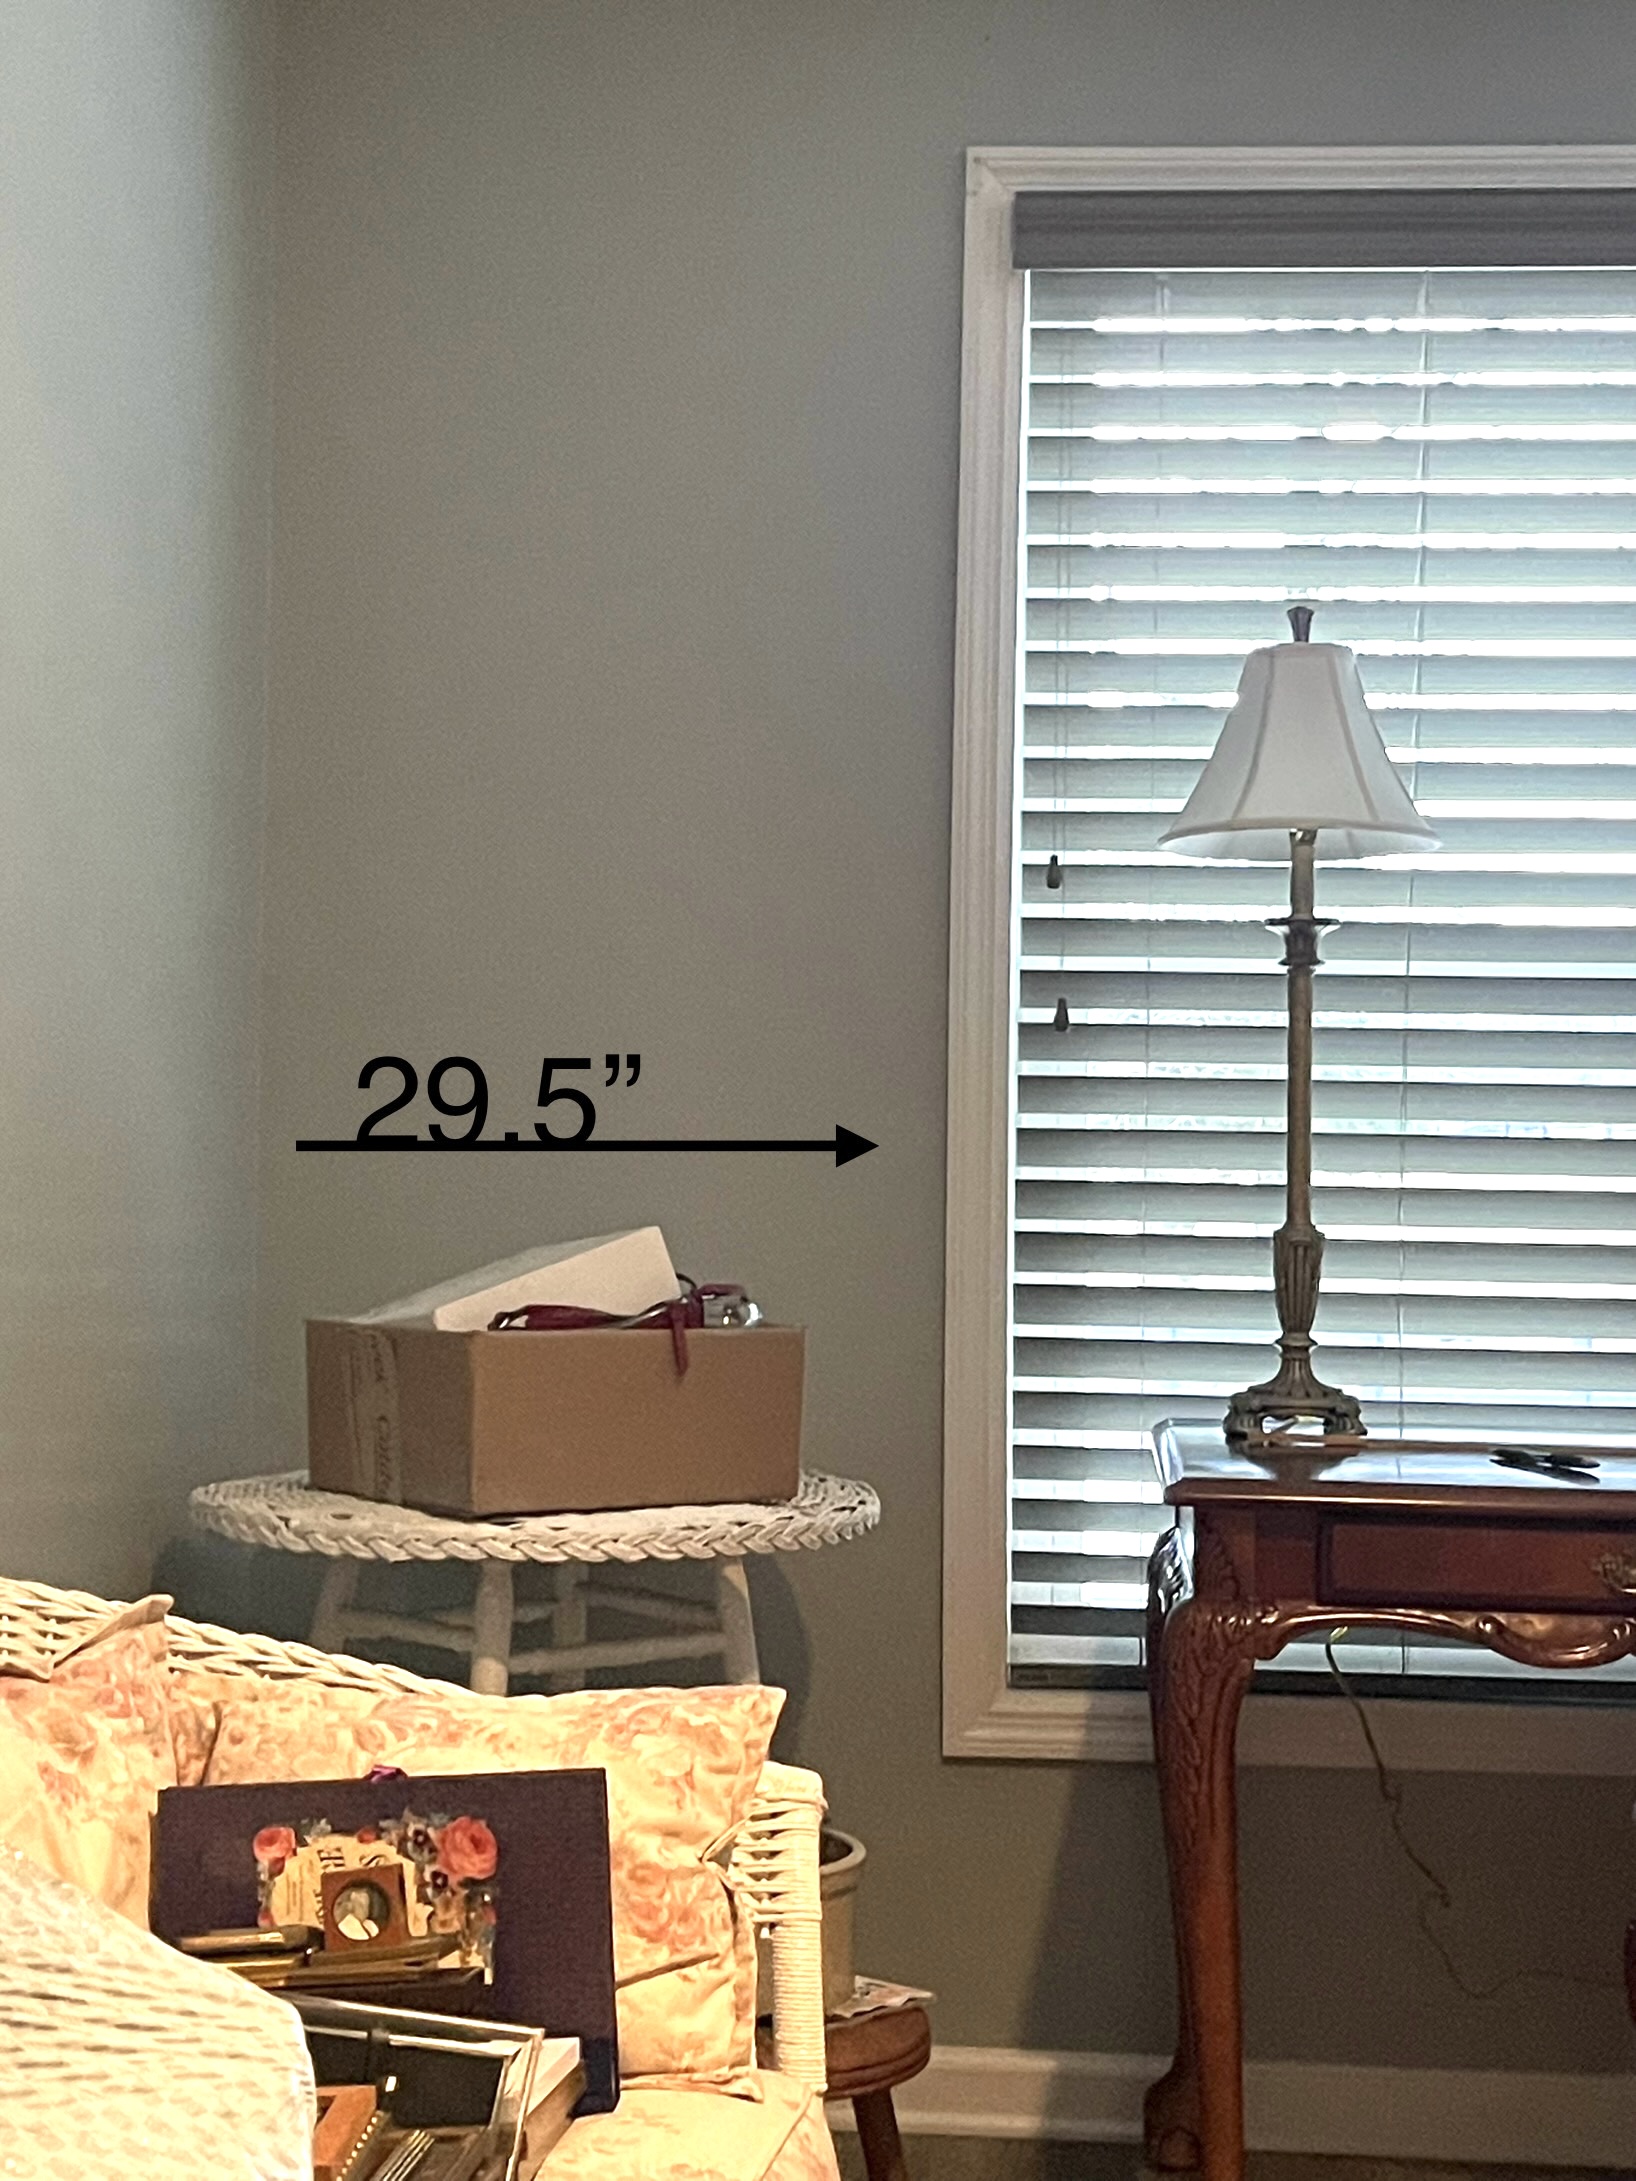
My first thought was that I wanted to add pretty floral panels to the sides of the window and make the room rather feminine. Then, I realized that might not be a possibility because the window is not really centered on the wall allowing for a full drapery panel on either side of the window without covering any of the window. On the right side, there is about three inches and on the left, there is considerably more space.
So, I started turning through the pages of my 'house look books' and surfing the net and saving ideas. I began to notice a trend in what I was collecting. They seemed to all have some sort of floral Roman shade that draws the eye up but brightens and livens up the space. The inspiration I seemed to keep coming back to was this office with a Jacobean print shade and incorporated the greens and blues that I have going on in the room already.

So, my next turn was to dig through my fabric stash and see what I already had that might work to combine the color scheme I had started. Remember that I am trying to do this office on a budget and I want to use as many things that we already have as possible. I have a pair of pillow covers made of a Jacobean print that I first bought to try to work into a bedroom with my grandmother's cross-stitched quilt. The fabric turned out to be a bit too creamy or lean too far toward yellow. So, I made a couple of pillow covers that I use in the den and hung the rest of the fabric on a hanger to keep in my stash.

When, I pulled it out, I realized that it might just be the perfect fabric. It has the hunter green color that is found in the green check chair and it has a nice sky blue color that would brighten things up as well. So, I quickly decided that I ad found my fabric to use in the office. When I started measuring and planning, I realized that I was going to have to seam a couple of pieces together to reach all the way across the double windows. So, I gave my friend, Kathy, a call. She made thousands of window treatments over the years and I knew she would be a good resource. Of course, I watched dozens of online videos as well! The two that wound up being my strongest resources were How to Make a False Roman Shade and How to Make a Roman Shade.

Kathy suggested that I might not want to have the seam running down the middle of the window because that might draw too much attention to it. After I sent her a hand full of photos, she told me that I might not need to worry about the seam showing because there was so much going on in the fabric and I might be able to match the print quite well. So, I went to work.
I measured my windows and measured my fabric and used the instructions provided by the YouTube videos. Then, I stretched the fabric out across the floor and ripped one end to get a straight edge. I know that isn't recommended for all drapery fabrics due to the width and the nature of the fabric's weave. It is just something I feel better about when I am sewing. A straight edge makes my life easier. Then, I began to stretch out the next run of fabric to match the print for the seam.
Matching it up was pretty easy. In my mind, I was thinking I would just sew the two pieces together to make a tube. Then, I would split one of the runs of fabric so that I had a seam on both sides and the center panel would be one run of the fabric. As it turned out, that match up wouldn't work out for me so well. So, I decided I would stitch the two together and see out the seam turned out.
Kathy suggested that I press under one of the fabric's selvage edges to make the matching a bit easier. Plus, I could just stitch along the fold of the pressed edge and my seam would probably be easier and nicer to match up. It worked beautifully!
The fabric panel on the right has the selvage pressed under
and the two pieces are pinned together to match the print.
With excitement, I stitched the two pieces together and gave the entire thing a nice pressing.
Then, I turned to the other selvages and sides and realized that it wasn't going to work out as a had envisioned. The edges and the print was not matching up as I'd thought it would. So, the beauty of having this space is - I could walk away from it and leave it out for a while to decide what to do next. I ordered some trim tape to cover the seams and thought that might be the way I would go.
At this point, I was going to have to make the shade shorter or have less folds
or cover the seam somehow because the sides were not matching up as I'd hoped.
The more I thought about it, the more I began to think that the print of the fabric was not going to show the seaming as obviously as I had worried it might and I wouldn't need to do anything for it to be camouflaged it at all. So, I just decided to cut one side off and press the seam out and stitch the lining to the fabric. Then, hang it and hope nobody noticed the seam.
Close up of the seamed fabrics
As it turns out, that was the right thing to do in this case. The shade looks nice in my office and really adds some life and pulls the colors I'm using in the room together.
I love how it brightens the space and looks feminine and cheerful.
Even with the sunlight streaming in, the seam is not obvious at all. And if somebody is nosey enough to look and see if there is a seam, they will just have to find it!