If you change the way you look at things, the things you look at change.
Showing posts with label before and after. Show all posts

Sunday, August 16, 2020

Staying Home

 When we first got the stay-at-home policy, I was so thankful.  I was glad for the opportunity to be able to stay at home.  The chance to be able to just stay here and not HAVE to go out every single day has truly been a blessing to me in lots of ways.  

One of the things staying home has provided me is the blessing of simply enjoying the front porch.  Last year I gave Mike new porch rockers and a new porch swing.  The ones we had were older than vintage.  They had been on his grandparents' porch before they graced this front porch and time had done what time does to wooden porch furniture. Slats in the seat of the chairs and bench were broken, the back of the swing had pulled away from the seat, countless coats of paint had begun to chip and wear away and they just didn't seem safe anymore. 

The image above shows a bit of what time had done to the rockers and swing.

So, last fall after Mike said not to give him a gift for his birthday and I said not to give me a gift for my birthday, I took it upon myself to bend the rules a little bit and give him rockers and a swing for his birthday and say that it was his gift to me as well.  I shopped by surfing the net and finally landed on something that I liked and thought would take on a similar profile to what had always graced the front porch.  

The new porch rockers

The rockers are not those tall, 'Cracker Barrel' rockers and have a lower profile like the old ones did.  They have a wide seat that provides plenty of room and comfortable support.  When they arrived in their flat boxes, I could hardly wait to pull the pieces out and put them together.  I love the woven seat and back.  I love the color of the wood.  I just couldn't have been more pleased with the new rockers.  

Shortly after, I also ordered a new porch swing using the concept of a Christmas gift exchange as the excuse for this purchase.  I knew that I wanted something a little longer than the previous swing so that two adults can comfortably sit on it. So, again, I surfed the net and found one that was simple and had a similar curve to the arm as the rockers.  It came unstained and I had to think for a while to decide if I wanted to paint it or attempt to stain it to coordinate with the rockers.

Stain won out and I set to work.  Then, after giving it a week or so, I oiled down the rockers as well as the swing with some of the oil finish I use on the butcher block counter top we have on the island as a protective coating.  It weathered the winter well and I gave it a new coat of oil this spring.

The front porch has sort of turned into an oasis for Toby and me this summer.  We both have enjoyed hours out there.  He stretches out for a nap on the rug and I sit in one of the rockers or the swing and read a book or nap.

The addition of some ferns and flowers have truly made it seem like a summer oasis. I've so enjoyed the beauty of the green, the dark walnut-wood color of the furniture, and the shade.

It is friendly and welcoming as well as relaxing and comfortable whether we are napping or just sitting and watching the world go by.

A tall ice-cold drink in the afternoon or a delicious cup of coffee in the morning will usually be enjoyed right on the front porch.  I've enjoyed the space so much, that other instances of metamorphosis have taken place and even more will be coming.  That's another story for another day, though.  Right now, I hear the front porch calling to me and maybe I'll let Toby tag along!


Friday, July 17, 2020

Summer Project #4

Mike tells me that I need to go back to work.  He says I'm finding too many projects!

The other day I ordered a filter for the fridge.  The sensor on the door indicated that a new one was needed.  I thought I had one here and dug around in the pantry looking for it to no avail.  So, I ordered the one I thought we needed.  I took a picture of the tag inside the door and saw that it said Whirlpool.  So, I ordered the one I thought would fit.  My memory told me that the filter required only had one thing poking up and I looked at what was listed under a search for Whirlpool water filters and ordered.  

When the filters were delivered, I thought they didn't look like what we had used before but I also know that my recall ability is not as good as it once was.  So, I went to the fridge and took the filter out.  Sadness abounds.  It was a different filter.  

I went back to the pantry and started pulling things on the junky bottom shelf out only to discover a bigger mess and no filter on hand.  So, I created another project for myself.  However, that is another story for another day.  Today I needed a filter because experience told me that if the old filter was returned to the fridge, the water would be black and we would have to run loads of water through it and throw out several batches of ice.  

I went back to the fridge to get the info again and noticed that the tag on the door says Maytag.  I looked back at the tag inside to find the serial and model numbers and sure enough, it does say Whirlpool. So, I wasn't quite as crazy as I feared.  

I looked online at places like The Home Depot and Lowe's to see if there was a local store which had a filter.  Then, I remembered that we now have a local Ace Hardware store only about five miles down the road.  So, I picked up the phone and called and voila! They had one of the filters I needed and would hold it at the counter for me. Oh happy day!!!

I masked up and entered the store and there were a couple of people at the counter checking out so I did a little browsing at the paint counter to social distance.  Remembering that I'd never painted the laundry room entry door that was installed two summers ago, I picked out a paint color that I thought would look good for our back doors and asked a woman to mix me a quart of paint.

I came home and installed the filter and knew what my plan was for the following day - painting!

I love a small painting project.  It is so fulfilling because there is instant gratification of immediate change - and usually for the better.

I got up early and did my morning puttering.  Then, got a tub of soapy water and washed down the French doors and the laundry room door.  I let them dry and gave them an inspection.  There was still some grungy looking mold or mildew or something clinging to the window trim on the French doors.  I hadn't planned to paint that part because I wanted it to stay white.  

You see, the new door has what looks like window pane muntins between the panes of glass and they are white.  So, I decided that the vinyl around the window and the muntins on the French doors needed to stay white.  I decided that I would try a bit of bleach in water to see if that would clean up the 'woodwork' around the windows.  When I came inside to mix that up, I saw that I had some Clorox cleaner and decided to just spray that on to see how it would turn out.

That is one of the greatest products ever!  I sprayed some at the top of the first window casing and it started to drip down and left a clean path in its wake!  No scrubbing was required.  So, I sprayed all the vinyl really well and came back inside to get another spray bottle of plain water for rinsing.  By the time I got back outside, both doors were shining like new!  I rinsed and left them to dry.

By the time everything had dried well, it was almost lunch time.  I was finishing up the first coat of paint on the French doors when Mike came in for lunch.  He didn't seem too enthused with the color I had chosen but I was enthralled by how beautiful it was looking already and kept mentioning how much I loved the color.  He finally started laughing at me every time I said how much I liked the color.

By the time I had finished the first coat on the second door, the first door was dry.  So, I just went right on painting and added a second coat, exclaiming how much I liked the color every few minutes.

I took a break to eat a bite of lunch and then painted the laundry entry door.  By this time the temperature on the back porch was in the ninety-degree range.  I sat down and had a cool glass of water and by that time the first coat was dry and I painted the second.

I love how sometimes the light will make the color look sort of blue and sometimes it looks sort of green.  The three doors in a row really look fabulous and stand out across all the white on the back of our house.

My project turned out to take longer than I'd anticipated and was far hotter than I wanted.  However, in just a few hours the entire back of our house was transformed.  I just love the color!  (Mike admitted the next day that he really likes the look of it, too!)

By the way, the color is Wythe Blue by Benjamin Moore and did I mention that I just love it?!

Wednesday, July 15, 2020

Summer Project #3

Before school was out, I had decided that I needed to paint the back porch furniture because it was looking kind of ratty.  Some pieces had paint worn off, some were starting to rust a bit, some had a grey fungus growing on them like is growing on the bark of the trees in the back yard, and some had some greenish grey mold-looking stuff on them.  


So, the first thing I did was get a bucket of soapy water, line up the chairs, and begin scrubbing.

I quickly got hot, sweaty, and a bit wobbly due to my not being accustomed to being outside of the air conditioning, getting older and out of shape, and Mike says I was going at it like I was killing snakes.  So, when I came inside to rest and cool off after scrubbing all the chairs, he picked up his phone and called a neighbor.  He lined up a young high school boy to come give me a hand.  So, I scrubbed a couple more pieces and the young man showed up for duty.

I had estimated how many cans I thought would be needed and placed a large order to be sure I had enough paint on hand.

Cole tackled the job with gusto by stacking up four or five chairs and carrying them out into the yard under a shade tree where I indicated I'd planned to paint. 

He painted all I had scrubbed and promised to come back another day to finish up and return everything to the porch.  He even assured me that he could scrub the pieces that I had left.  So, in a day or so, he returned and finished up the painting.  Then, came a day or so later and put everything back into place.


It all looks so much better!  I never dreamt it would turn out looking so nice.  It almost looks brand new!

A couple of days later, I decided that I needed to use the four left-over cans of paint to spruce up my plant stands.  So, I lined them all up and gave them a good scrub.  I came inside to cool off and eat a bite while they dried.  Then, I took them out under the shade tree and gave them a coat of paint.


I also unintentionally gave my feet a coat of paint and some of it bled onto my flip-flops and, sadly, they did not look nearly as good as all the furniture did with a coat of paint!

Monday, July 13, 2020

Summer Project #2

While Luci was here for her Days, I decided that we needed a project to do that would keep her busy.  We usually do some baking or cooking together and after we had done that, I got her to help me with a cleaning and organizing project.  One of my cabinets had just become a place for all sorts of junk.  So, I decided we would do a bit of organizing of that space.

I really hate that I didn't get a before or even a photo of her pulling all that junk out of the cabinet.  I'm telling you it was a jumbled up mess!  We threw out lots and made a box for donations.  Then, I filled a bowl with soapy water and Luci took a cloth and scrubbed the shelf and cabinet really well!
She was such a good helper!  Then, I handed her a bin and asked her to test it out on the shelf and she was so proud that it was a perfect fit!  So, we put some empty jars into one and vases into another and she tested to see what would fit and what would not.  Then, I handed her things and she found the perfect place for them and we called it a job well done!
The cabinet holds odd jars, extra spice jars, antique bottles that I sometimes use for vases, canning jars, vases, the vintage juicer (that big metal thing behind the large bottle on the left), a bottle of champagne somebody gave us, and liquor that I use to make marinades.

When we finished, Luci asked if we were going to do tackle another cabinet.  So, I decided that while she was willing, we would clean the island shelves.  She got down on the floor and handed me all the cookbooks and pottery.  Then, she got to Mike's side and started fussing about "all his trash!"  He had a stash of plastic bags, some empty soft drink bottles, an old farmer's magazine, and his medications poked into a basket and a bowl.  

She sounded just like a little old lady fussing about his "mess" as she took things off the shelf.

Again, I fixed a bowl of soapy water and she took a cloth and scrubbed the shelves well!

We let them air dry and added the things back onto the shelves - minus the trash that she fussed about in Mike's little corner!  

One of the things we didn't put back into the cabinet was a stack of cups she found.  She told me that she had a good idea of what she could do with them.  So, she took them to the bedroom and closed the door.  After a few minutes, she called me in to see her creation:

After Luci returned home, the house sure did seem quiet without her.  Plus, I certainly did have a good helper while she was here!

Saturday, July 11, 2020

Summer Project #1

Summer has traditionally been the time when I work on projects and get things done. Most of them are home-improvement-type endeavors where I'm organizing or repairing or updating or simply making something work better around the house.  My first project was out of necessity.  The drain hose for the dishwasher cracked and was leaking.  So, one day there was a puddle in the kitchen floor.  I mopped up and did some investigating under the kitchen sink only to find water standing under there as well.  First, I cleared everything out from under the kitchen sink and mopped up all the water.  I left it to dry overnight and called a plumber.  

In the meantime I went online and ordered some clear plastic bins that would organize the cleaners, jars, etc. that I store down there.  I was inspired by Ann at On Sutton Place.  She talked about how the handle made it easier to pull out the items that were in the back.  So, I found these nice see-through bins and ordered these as well.  After weeding out the junk and throwing some things out, this is how my tidy under-the-sink cabinet looks:
  • The left-hand cabinet has a trash can and a container that holds dishwasher pods. (You can see the pod container there on the left with the green label.)  
  • That is one of my scrubbing brushes sitting on a clear plastic coaster right in front.  
  • The clear bin right behind it is 14.5" long and just fits in that space with only about a hand's width to spare.  In the front, it has a tub that contains silver polish, brass polish, tooth paste for cleaning spots on silver, and that sort of thing.  In the back of that bin are oils for my butcher block counter top and cutting boards and front porch rockers.  
  • On the right, I have two of the bins with handles.  The one in the back holds some empty jars and a couple of empty cans that can be used to discard something like bacon grease when I need something of that sort.  The front bin holds extras of dish soap and hand soap to refill the containers on the counter by the sink as well as window cleaner and the gloves I use for hand-washing pots and pans.  I also have an empty spray bottle in it for when I mix dish soap and vinegar to clean things.
The next project turned out to be sort of a consolation prize.  I had hoped to redo and update our kitchen this summer but we decided that our budget just wasn't ready for that, yet.  Plus, there is the Coronavirus and we just didn't feel good about having folks coming in and out of our house.  So, I decided that I would just make the things we had work better for us!

I had gotten frustrated with spices and things falling out of the cabinet every time I tried to get something out for cooking.  It seemed that every time I reached for one thing, another couple of things fell out as well.  So, again, I decided it was time to organize and followed Ann's advice! I ordered more of the clear bins with handles that stick out, a couple of these turntables, and large jars and small jars.  I hate I didn't take a before picture but these two will give you an idea of some of the jumbled up conglomeration that I had up there:

I threw out things that were out-of-date or simply looked yucky.  I combined a couple of containers into one jar when I had more than one opened.  It was really quite rewarding to get this spiffed up! I wiped down the cabinet and shelves and placed the turntables inside and filled them up!
  • The bottom shelf has spices that we tend to use most on the turntable.  The jars behind the black pepper container are baking soda, baking powder, and corn starch.  There are a couple of bottles of flavored oils and a bottle of vegetable oil along with salt for refilling the shaker and some vegetable spray.  All tidy and within quick reach when cooking.
  • On the middle shelf, the turntable holds spices that we use less frequently.  On the right are jars with tea bags, cocoa mix, lemonade mix, and bottles of different extracts and flavorings such as vanilla, almond, maple, etc. 
  • I followed the advice that I read online in several places and put the items on the top shelf in clear bins with handles to make them easier to take down.  One bin holds bar-b-que rubs and it is in the middle because it is most frequently used by Mike as well as me. 
    The one on the right holds sprinkles and sugars for baking with/for the Grands.
The one on the left holds extras for refilling the jars.

I smile every time I open this cabinet now!  Everything is easy to find, easy to access, and easy to return to it's rightful place.  

I still hope to update and revamp my kitchen someday and when we do I will still be able to use these bins and turntables and jars.  For now, making our kitchen work efficiently for us and tidying it up are good enough.

Tuesday, July 30, 2019

A Metamorphosis

Mike and I are fortunate that we have a full house of nice furniture.  When we married, he had an antique bedroom grouping and I had a couple of them.  Nothing was a 'set' but we had things that meshed well together.  When we started off housekeeping, we used the antique bed and side tables that had been his grandparents' and an antique dresser and chest that I had bought when the children were little, to set up our master bedroom.  All the pieces were oak and seemed to fit together well.

Recently, we decided that we were ready for an upgrade with our bed.  We decided that a king-sized bed might overpower the room and a queen-sized bed would probably be large enough anyway.  Yet, the remaining furniture in the bedroom is antique and most is oak.  So, it needed to fit well with the furniture we already have.  

I first thought that I would like something with cane in the headboard and footboard.  


However, Mike liked the size and bulk of the headboard and footboard of the bed we have been using.  He said my examples looked "too spindly."  So, I kept searching.

We also knew that we wanted something wood and strong and sturdy.  So, no metal or brass bed was part of the search.  I also was struggling with wood that would fit with the rest of the antique furniture.  Finally, I showed Mike some painted and antiqued beds and he seemed to think something of that nature would work.


I searched Craigslist and Facebook Marketplace thinking I might find something second-hand that would be less expensive, since I didn't want to spend an inheritance on a simple bed.  So, I surfed and surfed but nothing really seemed to work that was reasonably priced as well.

Then, one day as I was driving down the road to the hardware store to pick up materials to work on a project that was thrust upon me, I noticed this bed at a nearby second-hand furniture place.  I slowed and gave it a look but kept going because I was mid-project, after all.

Then, as I drove by on my way home, I slowed and looked once again to see if I thought it had potential.  So, I turned around and went back to take a closer look.
I moved in a little closer to check out the sturdiness of it and the shop owner walked by and asked if he could help me.  I saw this.
Even though I thought the price was affordable for me to take on as a project.  Even though I hardly ever negotiate or try to talk a seller down.  I asked, "What is your bottom dollar on this bed?"  He dropped the price and asked if he could load it on my truck!

So, mid-closet-project, I came home with this beaut.  When Mike saw it in the back of my truck, he was somewhat less than thrilled.  I think he mainly felt that way because it was a hundred and eleventy degrees and he didn't want to have to help me unload that sucker.  Yet, when we got it up onto the porch, he was convinced that it was substantial enough to fill that "strong and sturdy" criterion and even said he thought it would be pretty painted up.  Plus, the price was much easier to handle than anything I had found in my constant surfing.

So, I wrangled it around onto an old sheet and slid it under the bed in our bedroom and went back to work on the closet.  It lay there nagging at me for a couple of weeks!  Plus, my back was aching and pining for new support each night since I was spending more time on the firm cushion of the couch than the crowded, soft, confines of the full-sized bed.

When I would sit down each evening after my shower, I would have my nose online reading about different paints and finishes and methods.  I finally settled on using chalk paint because I thought it would be the least amount of prep and work.  I mentioned this to a couple of people in the second-hand selling world and they suggested that I needed to do something to prevent the orangey finish from bleeding through the paint. So much for quick and easy.

I watched YouTube videos and I read blog posts and I looked for inspiration and guidance.  I landed on this look as inspiration.  
Sadly, I cannot find where I stole this photo from!

Then, I went off to the hardware store for supplies.  I picked my paint color from the Amy Howard One-Step Paint line only to find that there was only one quart and I was afraid that this project might take more.  So, I decided to take a couple that I liked and mix them together.  I also decided that I would stick with the same paint line and used Clean Slate to clean it with before painting as a precaution for preventing the old finish bleed through.  On my way to the check-out counter, I saw that there was a random orbit hand sander on clearance.  So, I got that, too.  At that point, I realized I had invested more in my paint and finishing supplies than I had in the bed!

About half the tutorials I watched suggested either sealing the finish with a coat of something or sanding the finish until it gets 'a little tooth.'  So, I immediately went to work with the sander to scuff up the finish.    


I got the headboard, the footboard, and two of the post finials done and the pad of my sander broke.  So close to being finished!

I decided to persevere onward.  I wiped the dust off of every surface with a wet paper towel and left it setting on the porch for a while to completely dry.  Then, I wiped everything down with Clean Slate and let that dry.  At that point, I got a phone call which meant I would be spending a couple of days helping out at my son's house.  So, the entire project got put on hold for a couple of days.  

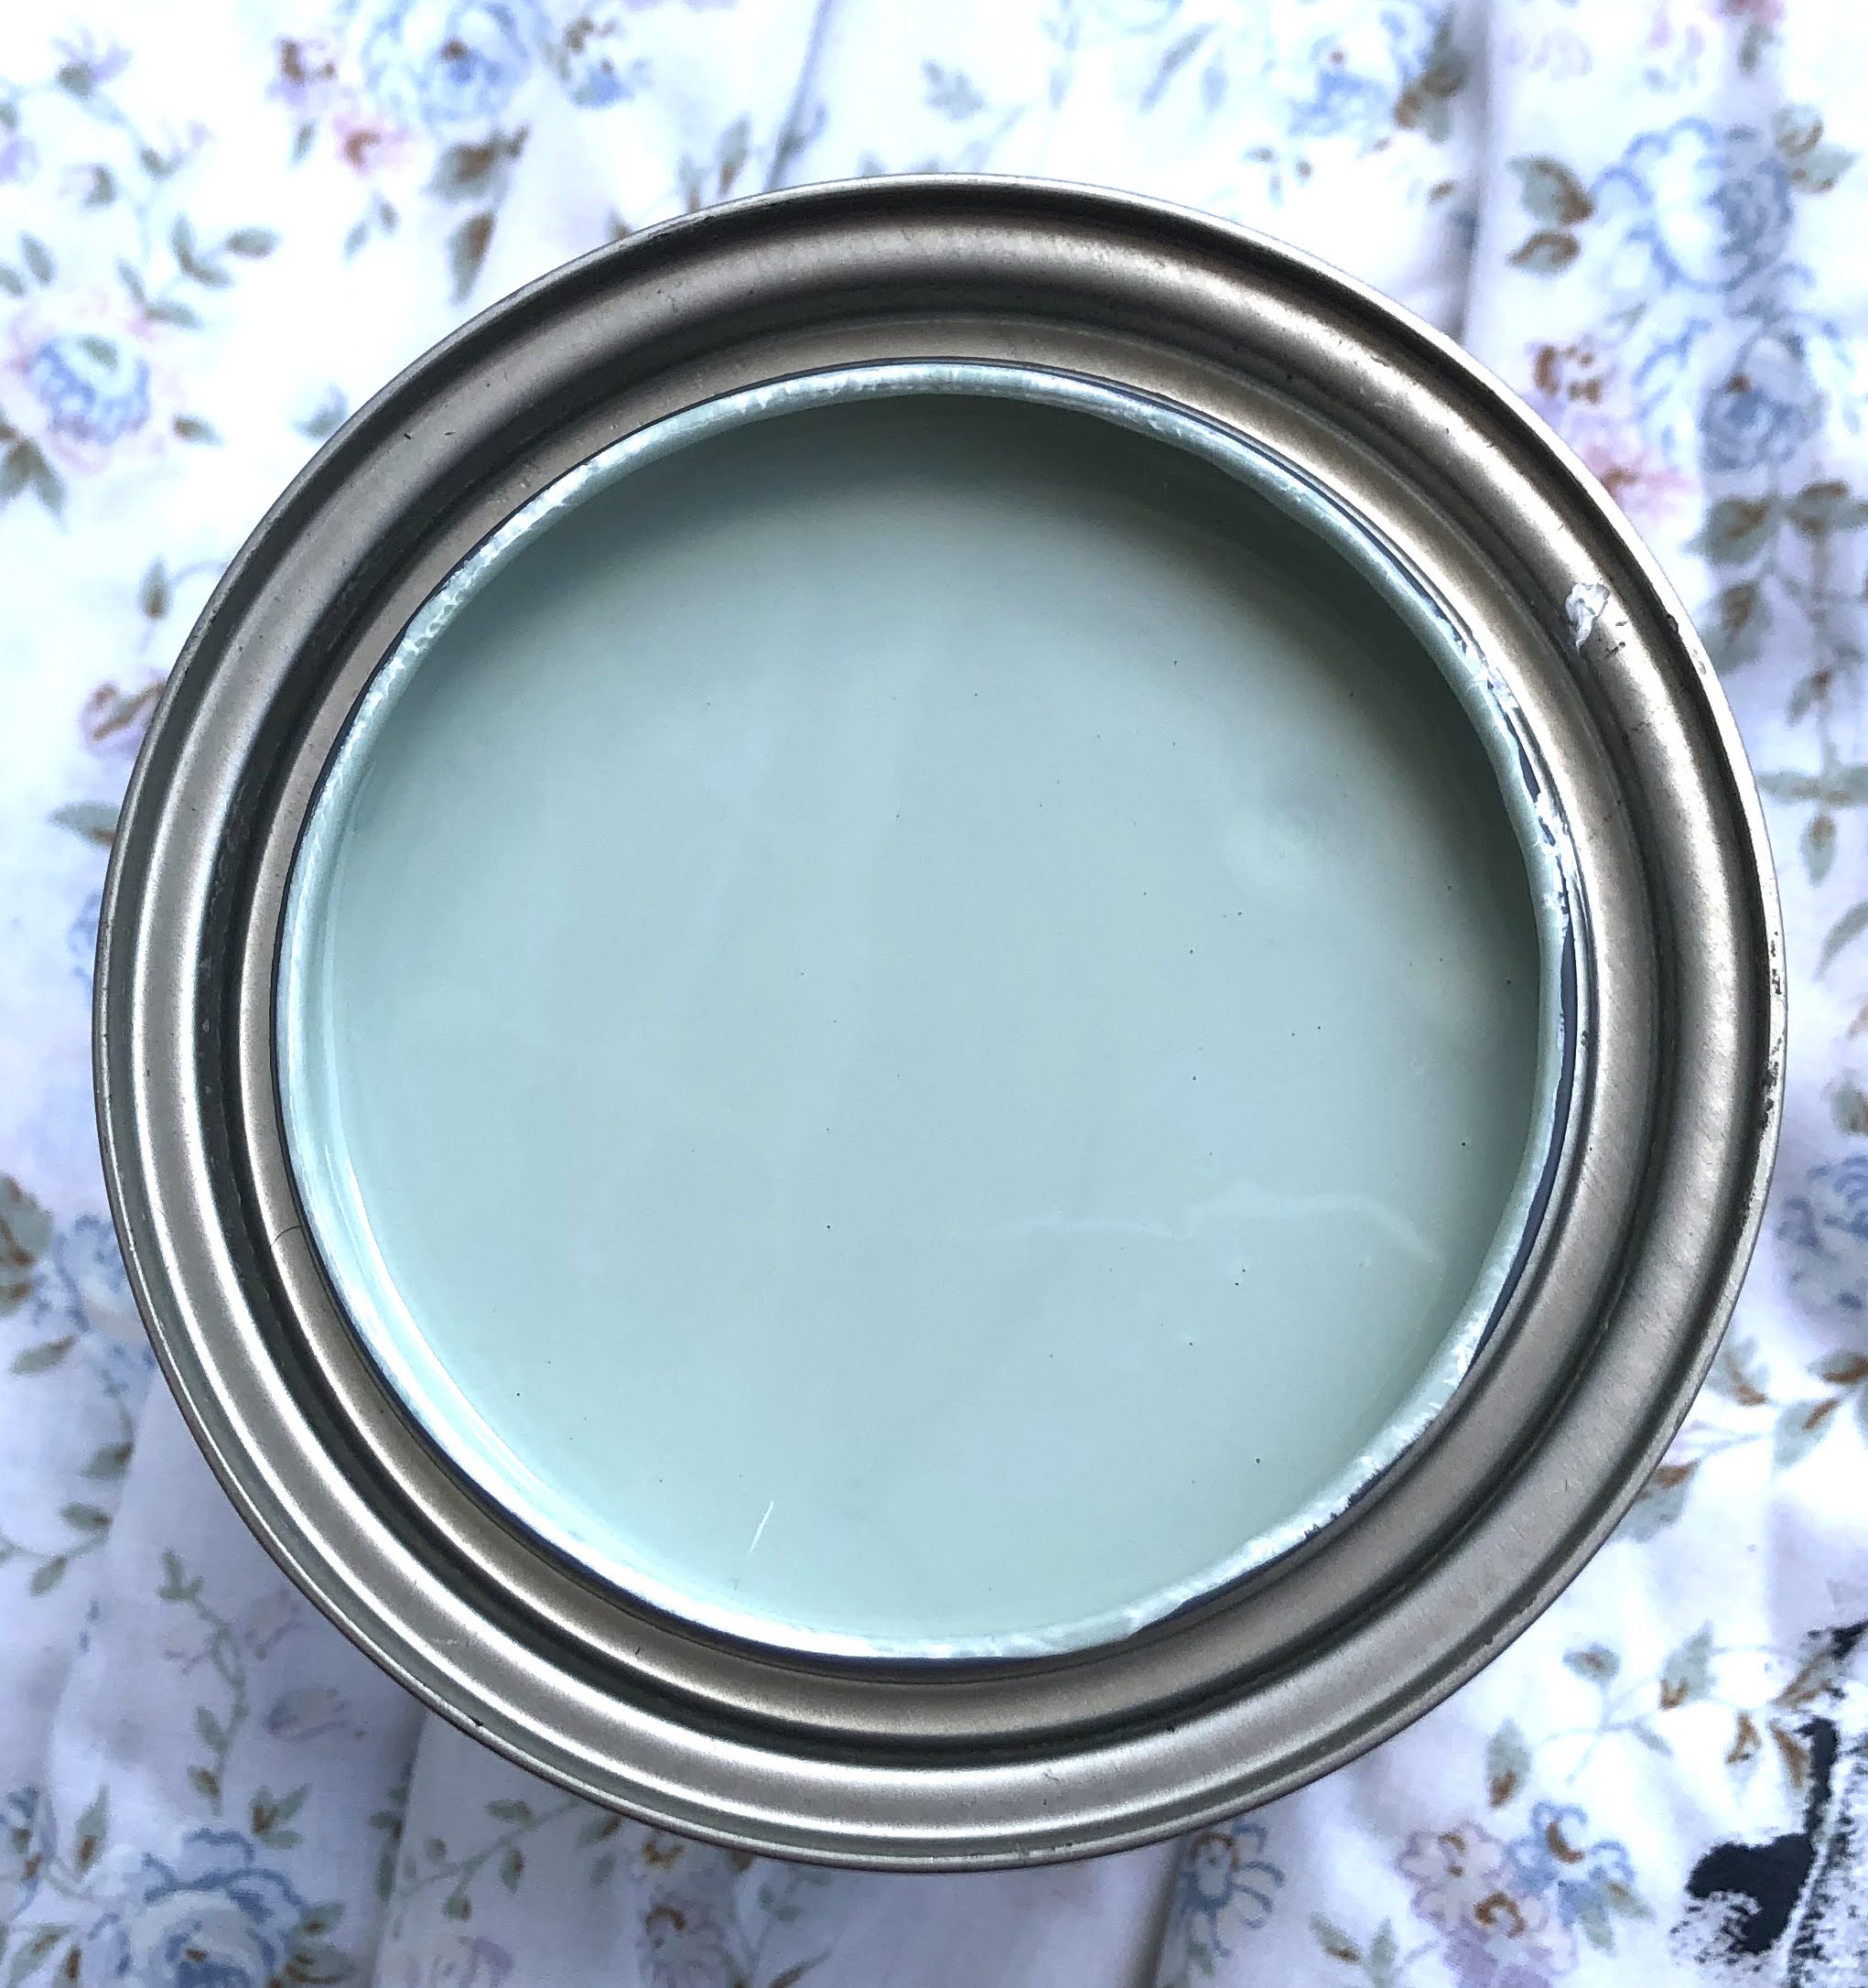
When I got back home, I jumped right in at getting the bed painted.  I mixed 1:1 Chelsea Square and Bauhaus Buff.  At Amazon, I had ordered some of the round brushes shown to be used by most of the tutorials I had scoured.  However, I kept seeing bristles and having control problems with them.  So, I returned to my trusty old Purdy angled brush and felt far more proficient with the painting.  I got the back side of the footboard painted by dragging it out to the back porch and laying it up on a sheet on the table.  Then, the skies clouded up and I had to move inside.  After a few sprinkles, I took the finials outside and gave them a coat of paint and decided that the rain had passed.  So, I drug the footboard back outside and gave the back side a second coat.  Then, the bottom fell out!  I had to quickly drag the footboard back inside.  I was not going to be outdone, though.  I spread out sheets and set up chairs and went after the front side of the footboard right there in my bedroom.

I continued on with the headboard after finishing the footboard.  When I had a break waiting for coats of paint to dry, I surfed online looking for a quilt to use on this larger bed.  I like not having a bed skirt.  So, I decided I would use a king-sized quilt.  I narrowed down my choices between the Amberly Spa Blue, the Blue Reversible Floral, and the Rowland Blue quilt set.  Then, I watched to see if any of them would be discounted on Prime Day.  Voila!  One of them was!

Then, I was ready for the side rails and the finials that had not gotten sanded.  I simply wiped them down good with Clean Slate and let it dry.  Then, I painted them up and, thankfully, there was no bleed through!

With everything covered in three coats of paint, I decided that I was going to start with the antiquing process.  I used the antique glazing mix that Cindy at Edith and Evelyn uses.  I found that I wasn't getting an even coverage.  So, I got a wet cloth and wiped everything I had glazed down.  I could control how much glaze I left on and how much I took off far better that way.  So, my method was to paint on the glaze.  Wipe it off with a dry cloth.  Let set a bit.  Wipe down with a wet cloth.  I was satisfied with the overall look of it and decided to leave it alone at that point.  Here is a comparison of the finished product along with the inspiration piece.
When I had achieved this look, I trekked off to a local mattress sales firm and ordered a new mattress and box springs.  Then, I stopped off and picked up a couple sets of sheets.  The mattress was due to be delivered in three days.  So, I thought I was ready.  Then, the day before delivery, I realized I had no bed slats to support the mattress and box springs!  So, I went off to Home Depot to get those.

Bryan and Jessica came by on Saturday to get the 'free' full-sized mattress and box springs we gave them.  As you know, there is no such thing as free in this world, though.  They helped us to set up the new bed and be ready for the delivery of the mattress and box springs the next day.  When the delivery was made on Sunday, I was almost like a kid on Christmas morning.  In retrospect, I wish I had gotten the low profile box springs so that the headboard would show more above the pillows.  However, I am so pleased with the look, the size, and the feel of my new bed.  I've decided to go with fewer pillows and a simpler look to dressing the bed and we will live with things the way they are.  I've got a bit of stitching to do to finish up the dressing for the bed.  I am making shams to coordinate instead of using the matching ones that came with the quilt.  I don't like matchy-matchy and they were king sized instead of standard size.  So, I will use them to make throw pillows for the window seat or something like that.  I will do a full post on what I come up with when I have landed on satisfaction.  Until then, here is the before and after comparison of the metamorphosis of our new bed.
Quite a difference, huh?

Evidently my confidence level was not very high with this project.  All my photos were made with my phone and the quality of the photos really shows.  However, the how-to aspect and the metamorphosis still show through even with phone shots.  I was paid nothing to use the products mentioned but I am pleased with the materials that I chose and the finish that I got with them.