

clear glass pumpkin

Yes, it was a dollar bargain!
So, I washed it up till it was sparkling and clean. I gathered all my supplies and moved out onto the back porch on a beautiful fall afternoon.
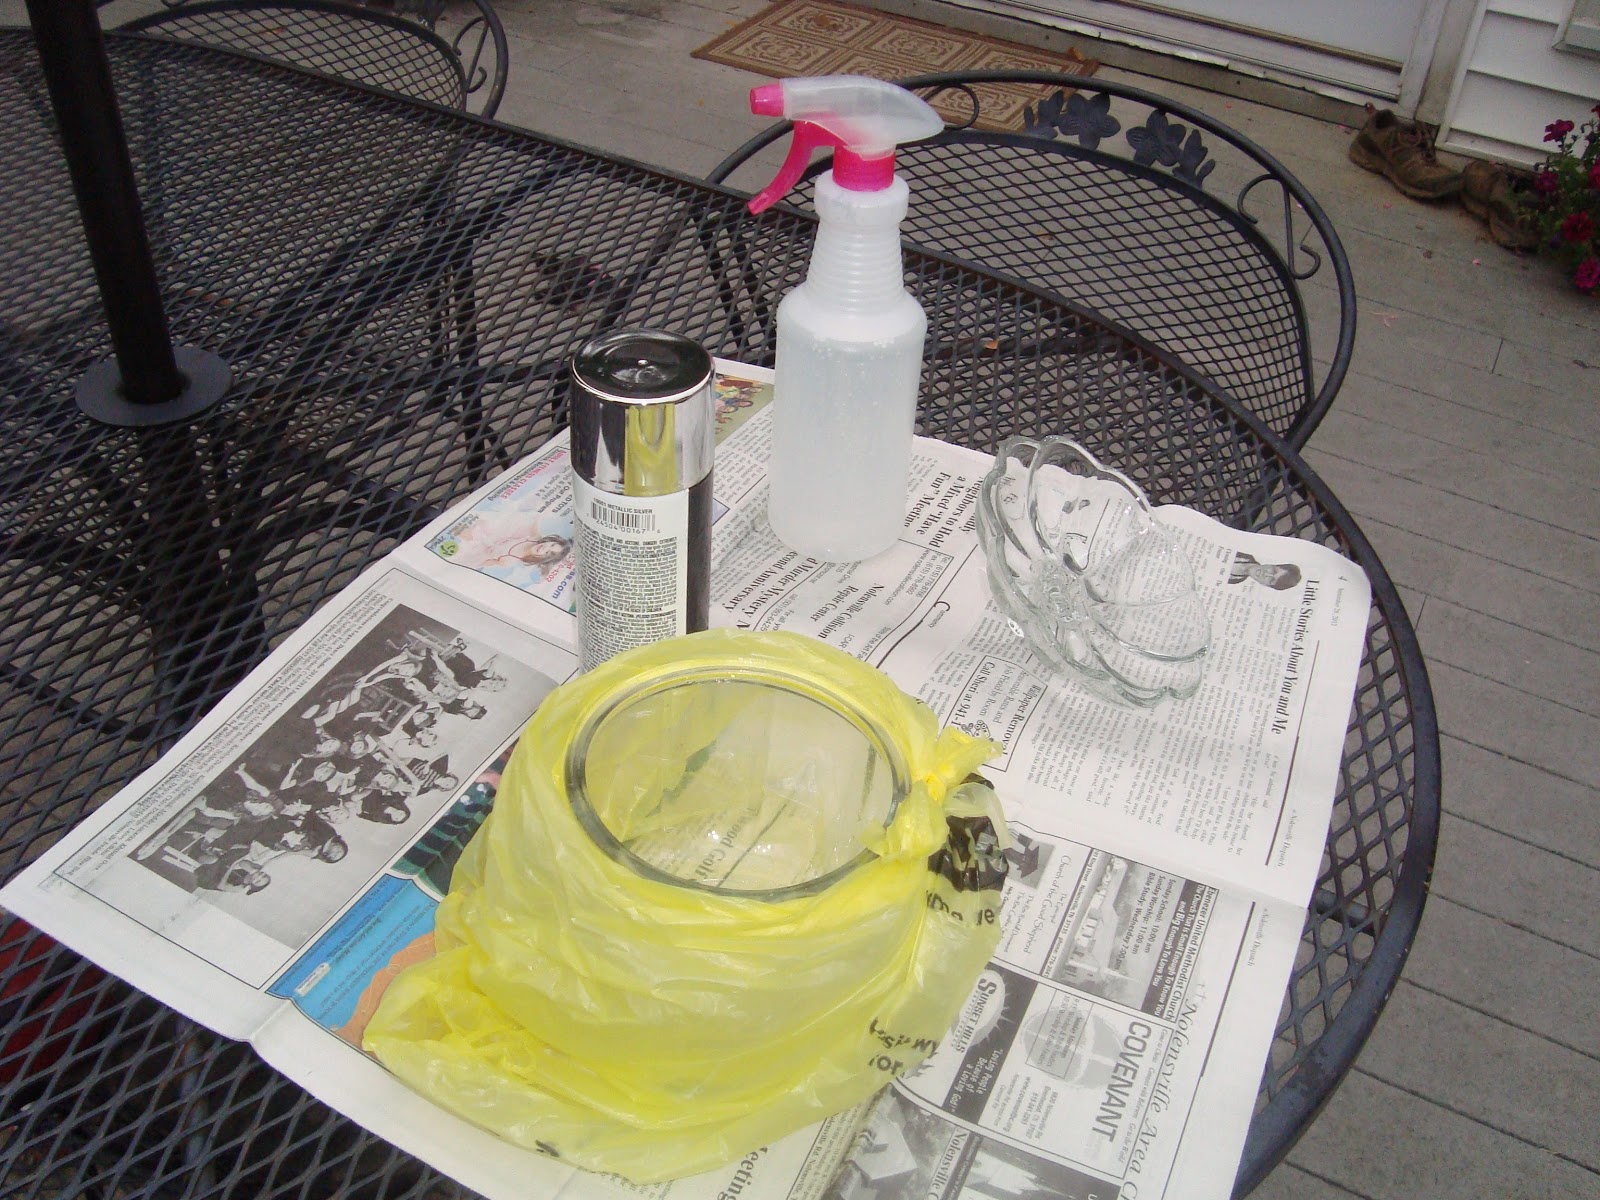
Supplies needed: silvery paint, water in a spray bottle, glass pumpkin, plastic bag, newspaper
Then, like the blog tutorial prescribed, I wrapped the glass pumpkin in a plastic bag that came from a local boutique.

plastic wrapped pumpkin
I spritzed the inside of the pumpkin with a little water and began spraying the silvery paint inside in short bursts.

spritzed with water and sprayed with short bursts of silvery paint

pumpkin lid
I did the same thing with the pumpkin lid and left them to sit and dry for a couple of hours. Then, when I removed the plastic, my $1 glass pumpking was a foggy grey color. I guess I didn't have the correct something... Was it my short-burst-spraying technique? Was it my water spritzing technique? Was it my paint type? I don't know. Here is what I did, though. I just proceeded to spritz the outside of the pumpkin and its lid with water and spray short bursts of shiny silver paint to the outside.

The finished product is on the right!
I think it turned out pretty well, what do you think?
No comments:
Post a Comment